Well, I got a ‘key’ part of the project done today
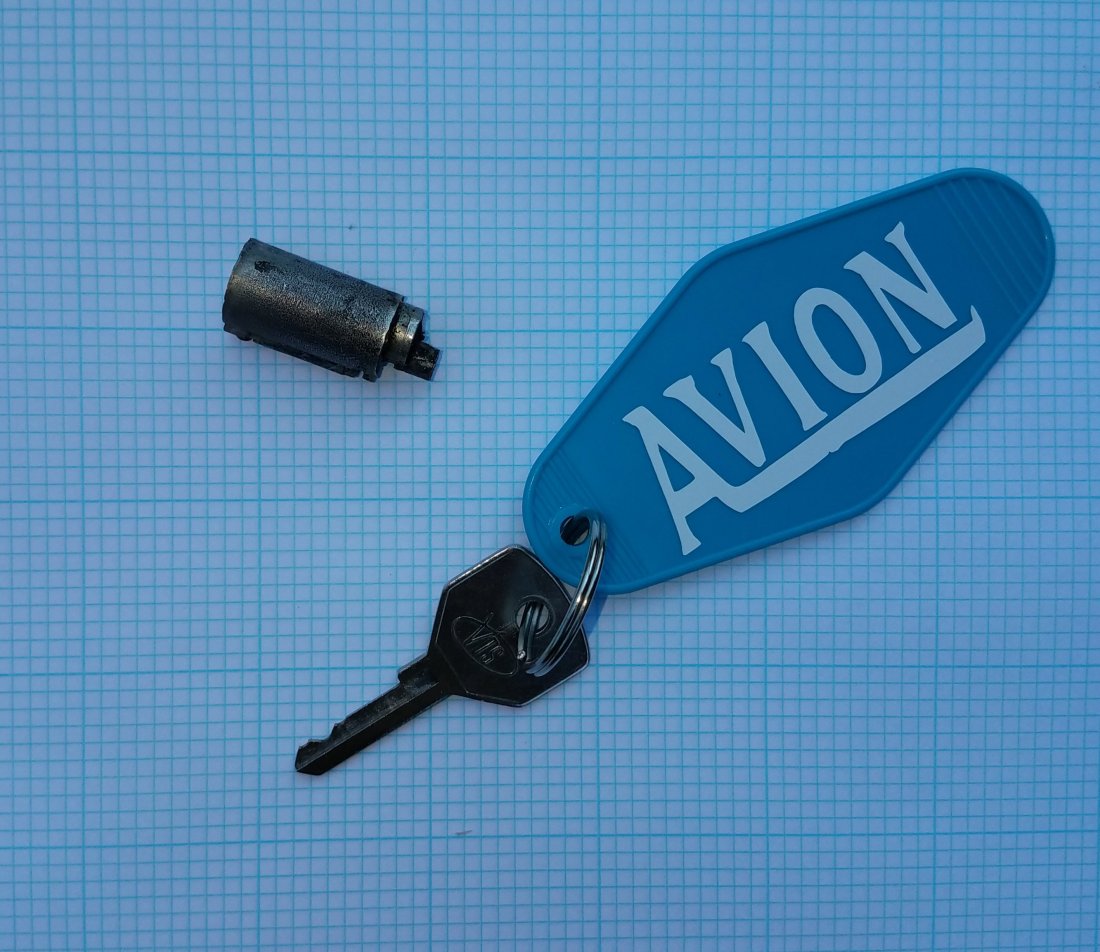
The caravan can now be properly secured. It took a little ingenuity (known as a flat blade screwdriver and a hammer), but I was able to pop out the old lock tumbler (which had no key) and install a new one. As a bonus, my new custom keychain arrived, too.
Why the delay, you ask? Well, the day my new tumbler arrived in the mail, I decided to slice potatoes with my new mandoline…

…and managed to do some damage to my index finger. So I had to wait a couple weeks before I could get anything done. Happily, other than looking weird (which I suspect it will until my nail grows back properly), it is now fine.
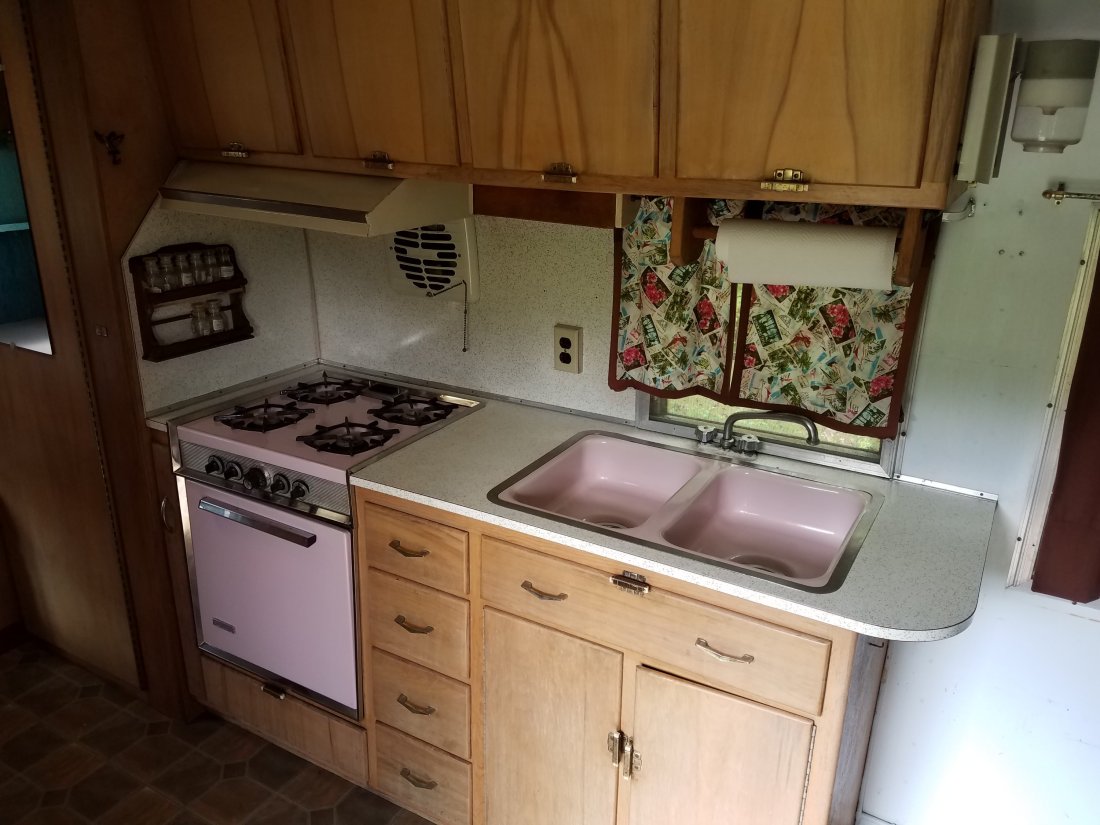
So, back to the project. I’m going to measure everything out to generate my own blue print of sorts, so I have an idea what I need to get as I progress. To do this, I’m effectively dividing the trailer into three parts: the front area, the galley (which is where most of the storage currently is, and likely will be), and the ‘bedroom’. Note I will leave out the bathroom for the moment, as it is a fairly low priority for me.
So, armed with graph paper and a tape measure, I started on the first part.
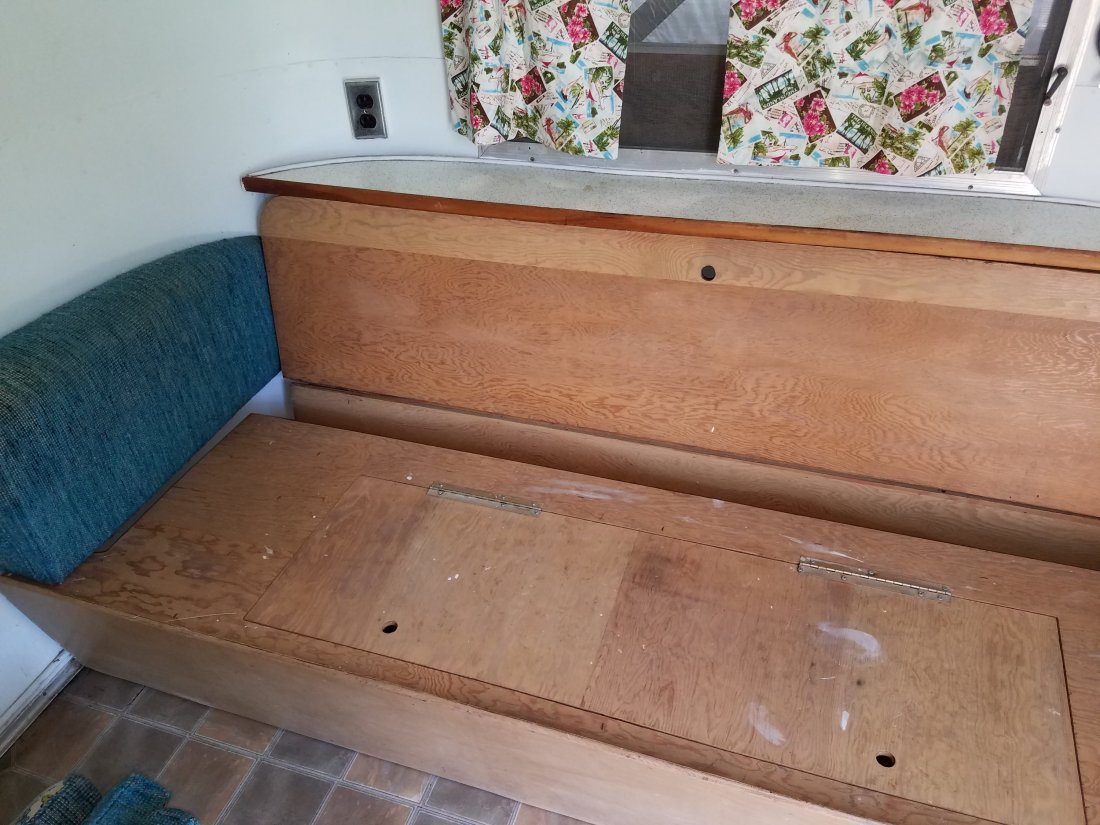
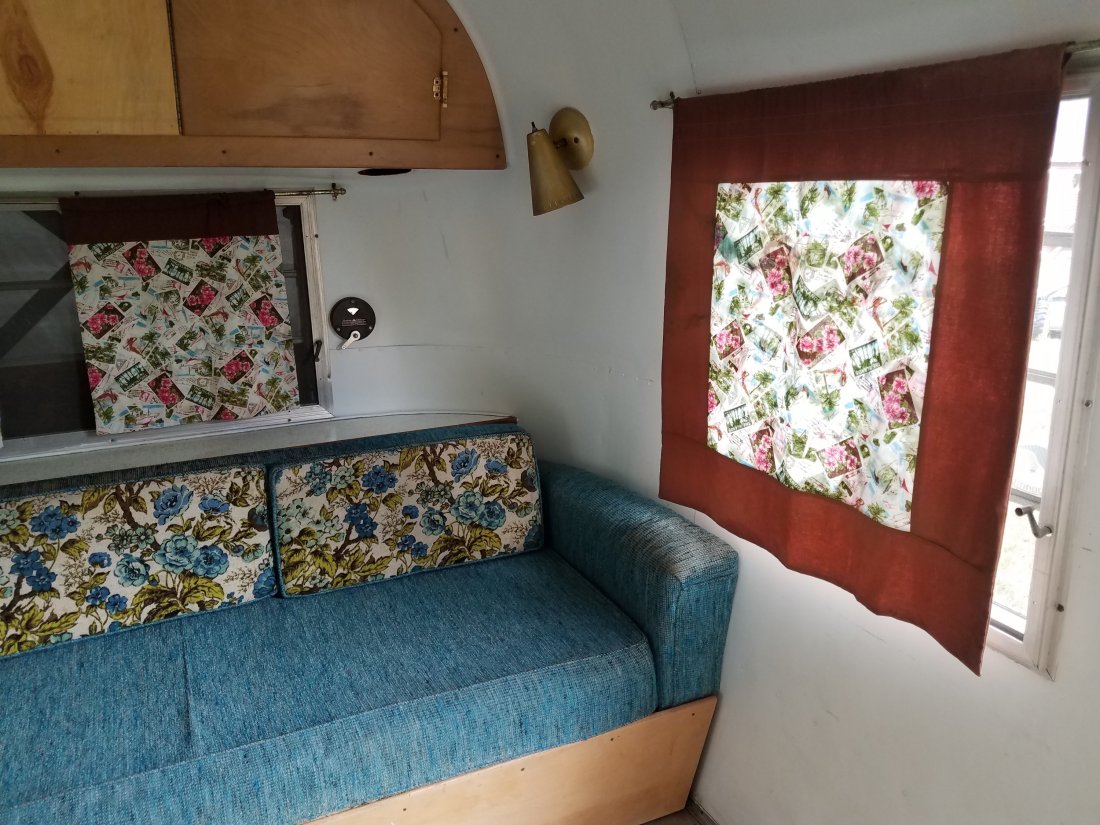
I pulled off the lovely cushions on the front sofa to reveal three storage cubbies – two under the seat and one in the back.


Also, the entire board slides out (to become another sleeping space). In doing so, I revealed this tank. Not sure what it is at the moment. More research is obviously needed on that. I’m not removing it unless I find it absolutely necessary, though.

Moving these panels also revealed more electrical things that I will need to figure out.
Speaking of electrical things, I got some research materials yesterday.

So more measuring (the galley next) and some ‘light’ reading to come.


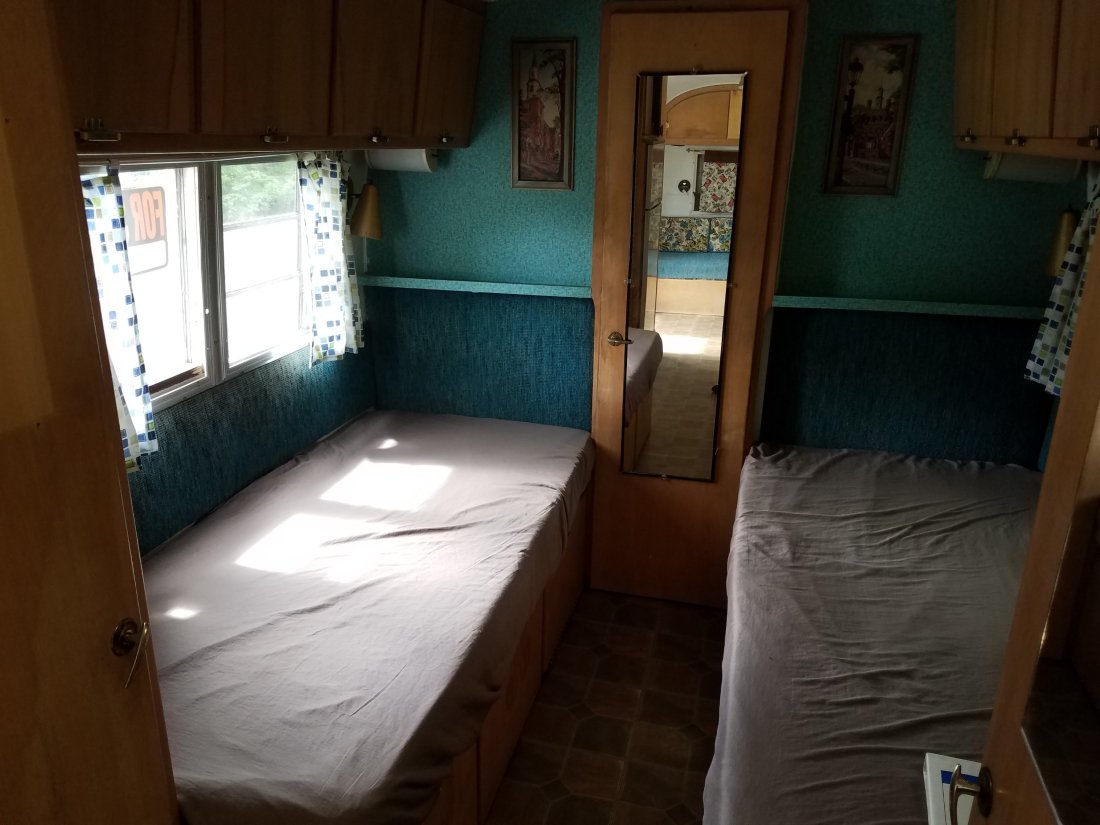
 I hope to keep at least one of these two beds, as there’s a fair amount of storage under them (and that’s where the water tank lives, I believe). If I remove one bed, it will likely become a couch that can fold out into a bed – like a futon.


